
A note from today: this post is from 2014. Facebook has since closed the API access it describes, so the data-collection steps no longer work. The visualization techniques (images as nodes in Gephi, igraph, and qgraph) still apply to any network with pictures for its nodes. The full R script is still available.
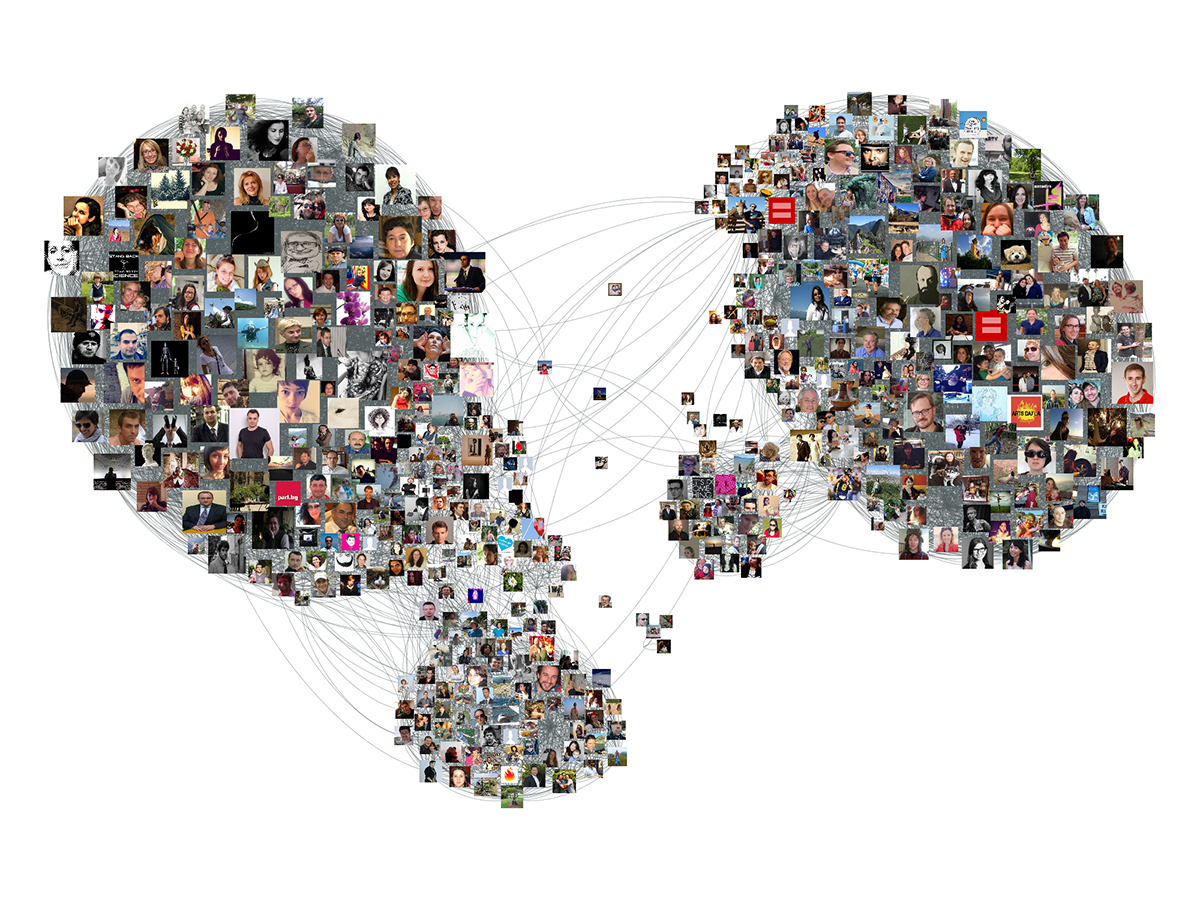
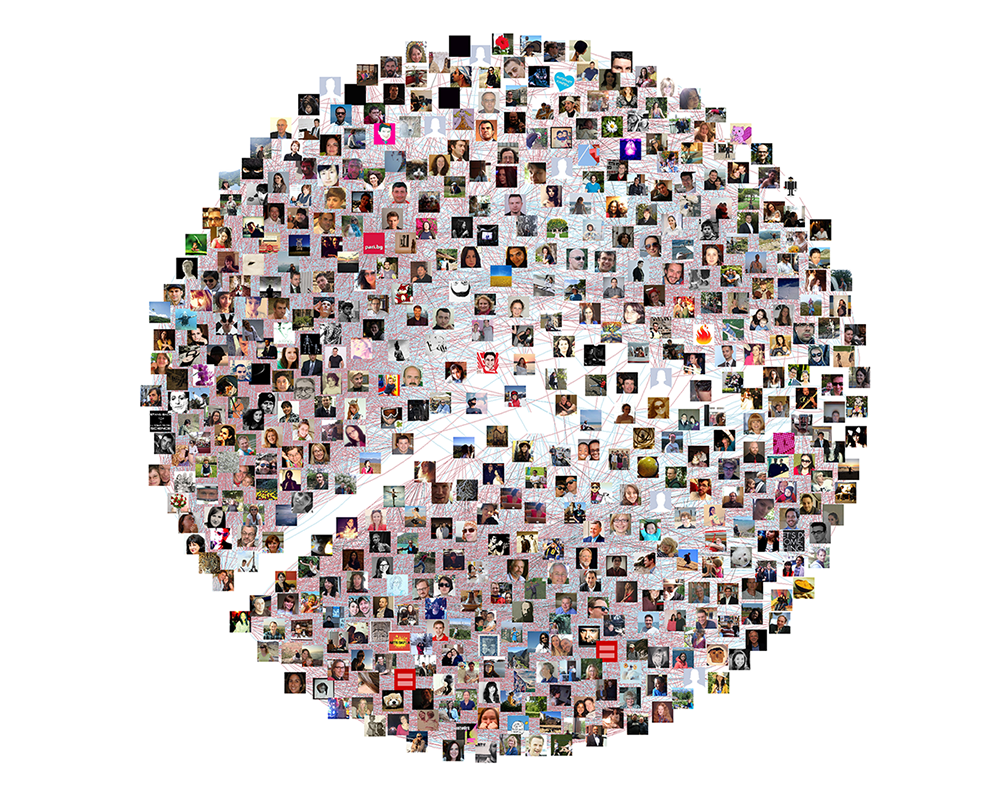
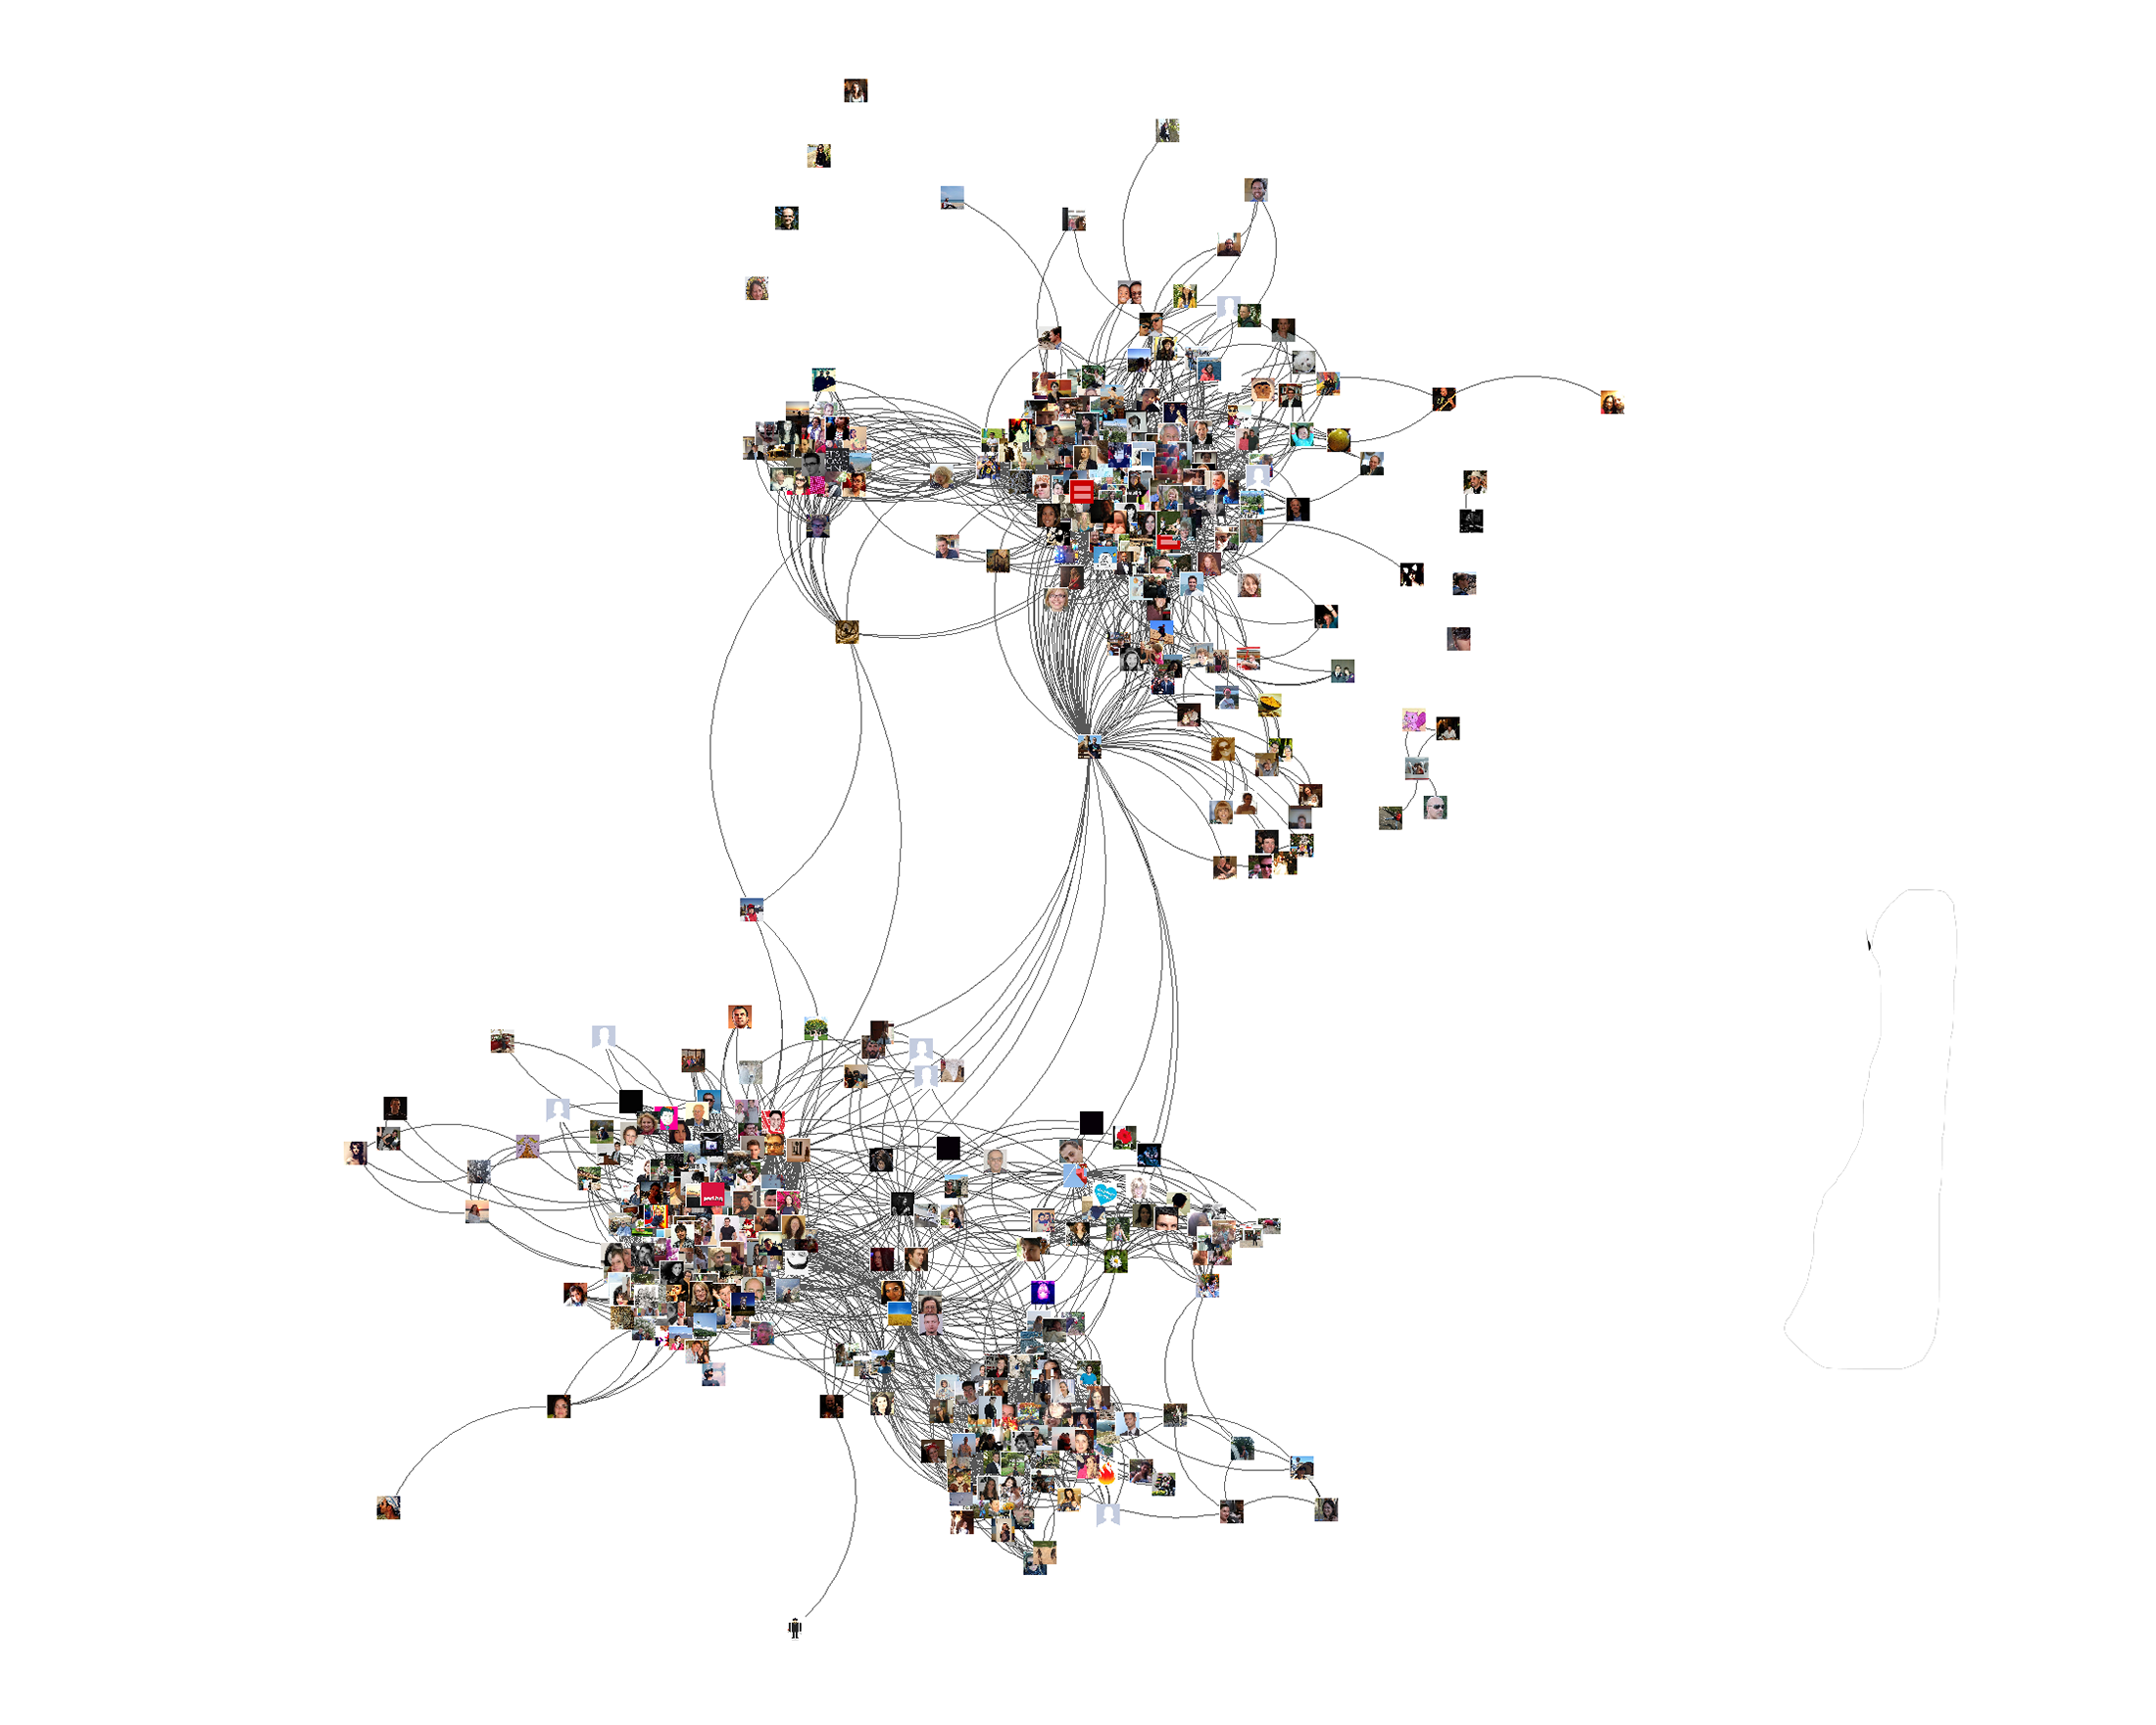
Update, April 26, 2014: Esteban Moro reminded me that there’s no need to manually rescale igraph layouts; you can use layout.norm() instead (script updated accordingly). Hugle on GitHub kindly pointed out a couple of sneaky typos, now fixed.
Gephi is one of my favorite network visualization tools. It offers a wide variety of customizable layouts, allows sophisticated tweaks, renders large graphs well, handles dynamic data, and generally lets you produce sleek results with minimal effort. That said, there are a few basic things (that pretty much any other network tool can do) that I’ve been missing in Gephi, like combining different node shapes or using images as nodes. Last week, the Yale Computer Graphics Group released a Gephi plugin that does exactly that. It’s called Image Preview, and it lets you use pictures in your Gephi network visualizations.
I played with the plugin for a while to figure out how it works, then switched to R to replicate the results. I used my own Facebook network, which made it easy to get a picture for each node. Twitter would have worked just as well, but I also wanted to try the new version of the Rfacebook package. Here are the steps to getting the data and visualizing it in Gephi, igraph, or qgraph. It turned out to be pretty straightforward, with only a couple of glitches along the way.
The same effect can be achieved even faster with Facebook apps like Bernie Hogan’s NameGenWeb, or with Marc Smith’s NodeXL network add-on for Excel.
Collecting Facebook data
1. Registration. First, get the Facebook data. Before pulling it from R, you need to register as a developer at developers.facebook.com and create a new app. The name and description are irrelevant; the only thing to do is go to Settings → Website → Site URL and fill in http://localhost:1410/ (the port we’ll use). The whole process takes about five minutes.
2. Authentication. Now go to R, install the Rfacebook package, and authenticate using the id and secret shown in the Settings tab of your Facebook app.
install.packages("Rfacebook")
library(Rfacebook)
oauth <- fbOAuth(app_id = "your_app_id_here",
                 app_secret = "your_app_secret_here",
                 extended_permissions = T)

save(oauth, file="fb_oauth")
# load(file="fb_oauth")
3. Data download. At this point, you can get information from Facebook. getFriends returns a data frame with (among other things) the name, username, gender, location, hometown, and picture URLs of all Facebook contacts who provided that information. getNetwork collects the ties among people on your friend list, either as an edge list or as an adjacency matrix. Just for fun (and because it doesn’t take long), we’ll get both.
# Get friend info:
my.friends <- getFriends(oauth, simplify=F)

# Get friend network in two formats, matrix and edge list:
fb.net.mat <- getNetwork(oauth, format="adj.matrix")+0 # bool,+0 to get numeric
fb.net.el  <- as.data.frame(getNetwork(oauth, format = "edgelist"))
4. Image download. Using the URLs from the friend data frame, we can download profile photos to a local folder (here FBImages). The download itself is simple with download.file; most of the lines below deal with naming the image files properly.
setwd("C:/Research/R")
dir.create("FbImages")

# Image file name and local path stored here:
my.friends$picture.dld <- NA

# Download the images:
for (i in 1:dim(my.friends)[1]) {
  # Fb images appear to be mostly JPEGs, except for people
  # with no profile pics - for those we seem to get a default GIF
  pic.ext <- ".jpg"
  if(grepl(".gif$", my.friends$picture[i])) pic.ext <- ".gif"

  # We'll name files using people's full names plus file extension.
  my.friends$picture.dld[i] <-
                 paste0("FBImages/", sub(" ", "_", my.friends$name[i]), pic.ext)

  # Some users have UTF-8 encoded names that don't work well as file names:
  if (Encoding(my.friends$name[i])=="UTF-8") {
       my.friends$picture.dld[i] <-
                  paste0("FBImages/", "FbID_", my.friends$id[i], pic.ext) }

 download.file(my.friends$picture[i],  my.friends$picture.dld[i],  mode = 'wb')
}
Visualizing the network with Gephi
There are several ways to move network data from R to Gephi (both support formats like GEXF). For simple, small networks, the most straightforward export is probably CSV. Gephi needs two CSV files. The first is an edge list describing every link; the columns with the start and end node of each link should be named Source and Target. The second is a node attribute table with a column named ID containing node identifiers that match those in Source and Target. Other attributes are optional, but here you need one called image with the photo file names for the Image Preview plugin to work.
colnames(fb.net.el) <- c("Source", "Target")
my.friends$ID <- my.friends$name
my.friends$image <- gsub("FBImages/(*.)", "\\1", my.friends$picture.dld)

write.csv(fb.net.el, file="Facebook-friend-EDGES.csv", row.names=F)
write.csv(my.friends, file="Facebook-friend-NODES.csv", row.names=F)
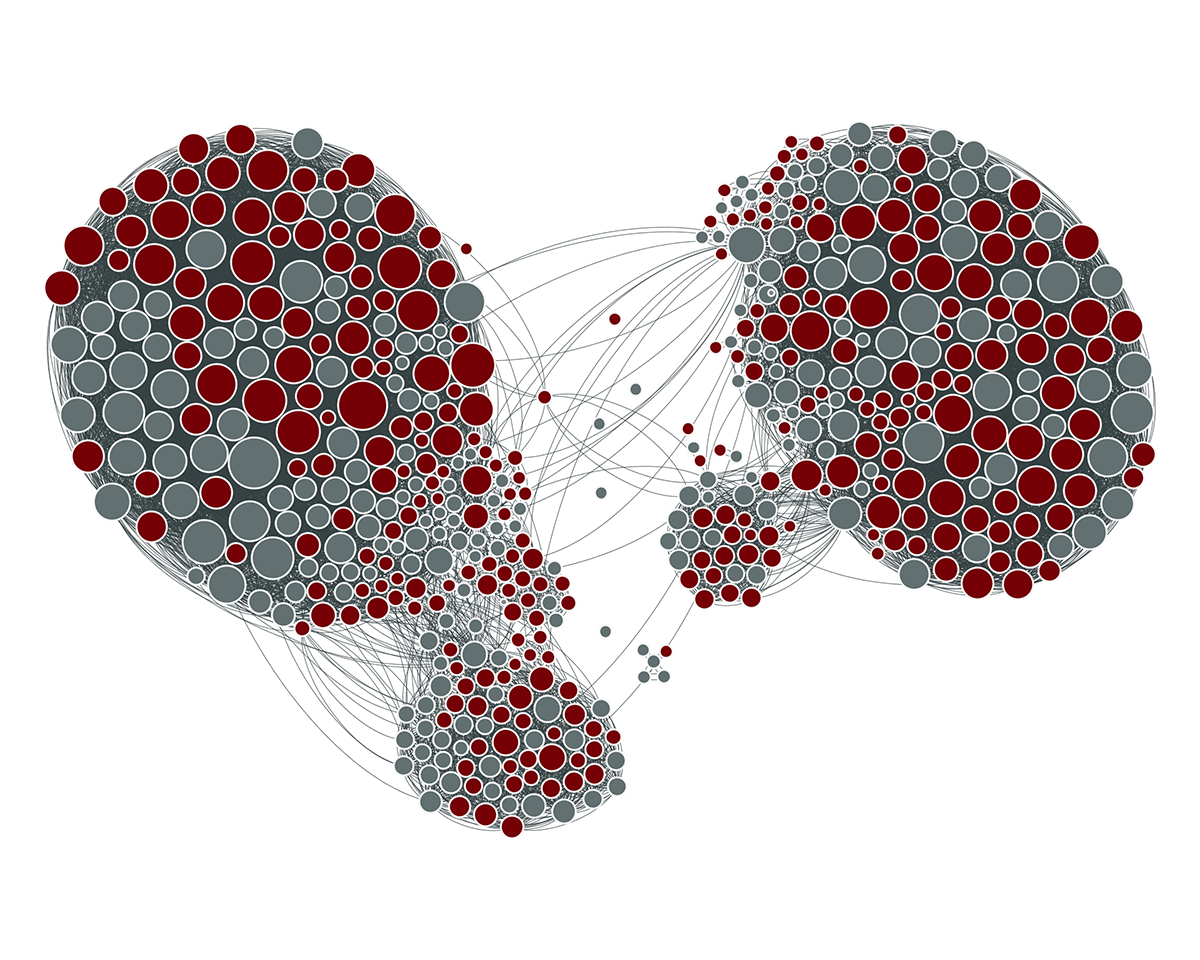
After you import the files (from Data Laboratory → Import Spreadsheet), you can tinker with the layout in the Overview tab until you’re happy with it, then switch to the Preview tab.
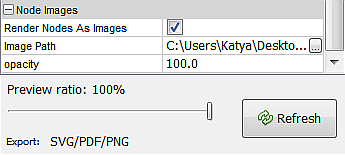
With the Image Preview plugin installed, you should see a Node Images section at the bottom of the Preview Settings bar. Tick Render nodes as images and specify the folder where the photos are located.
Gephi takes the file names stored in the image node attribute and looks for them in the image path you’ve set. One glitch I hit (which the plugin’s creator, Chris Xue, kindly helped with) was that the plugin had compatibility issues with Java 7. I had to install Java 6 and change Gephi’s startup configuration (the jdkhome parameter in Gephi-0.8.2\etc\gephi.conf) before the plugin would work.
Visualizing the network with igraph
R has long been able to add images to network graphs (and plots in general). I tried two packages, and both work well. I’m more familiar with igraph, which makes it easier to tweak things, but qgraph has node images built in, so getting a network map with photos takes just a few lines (see the next section).
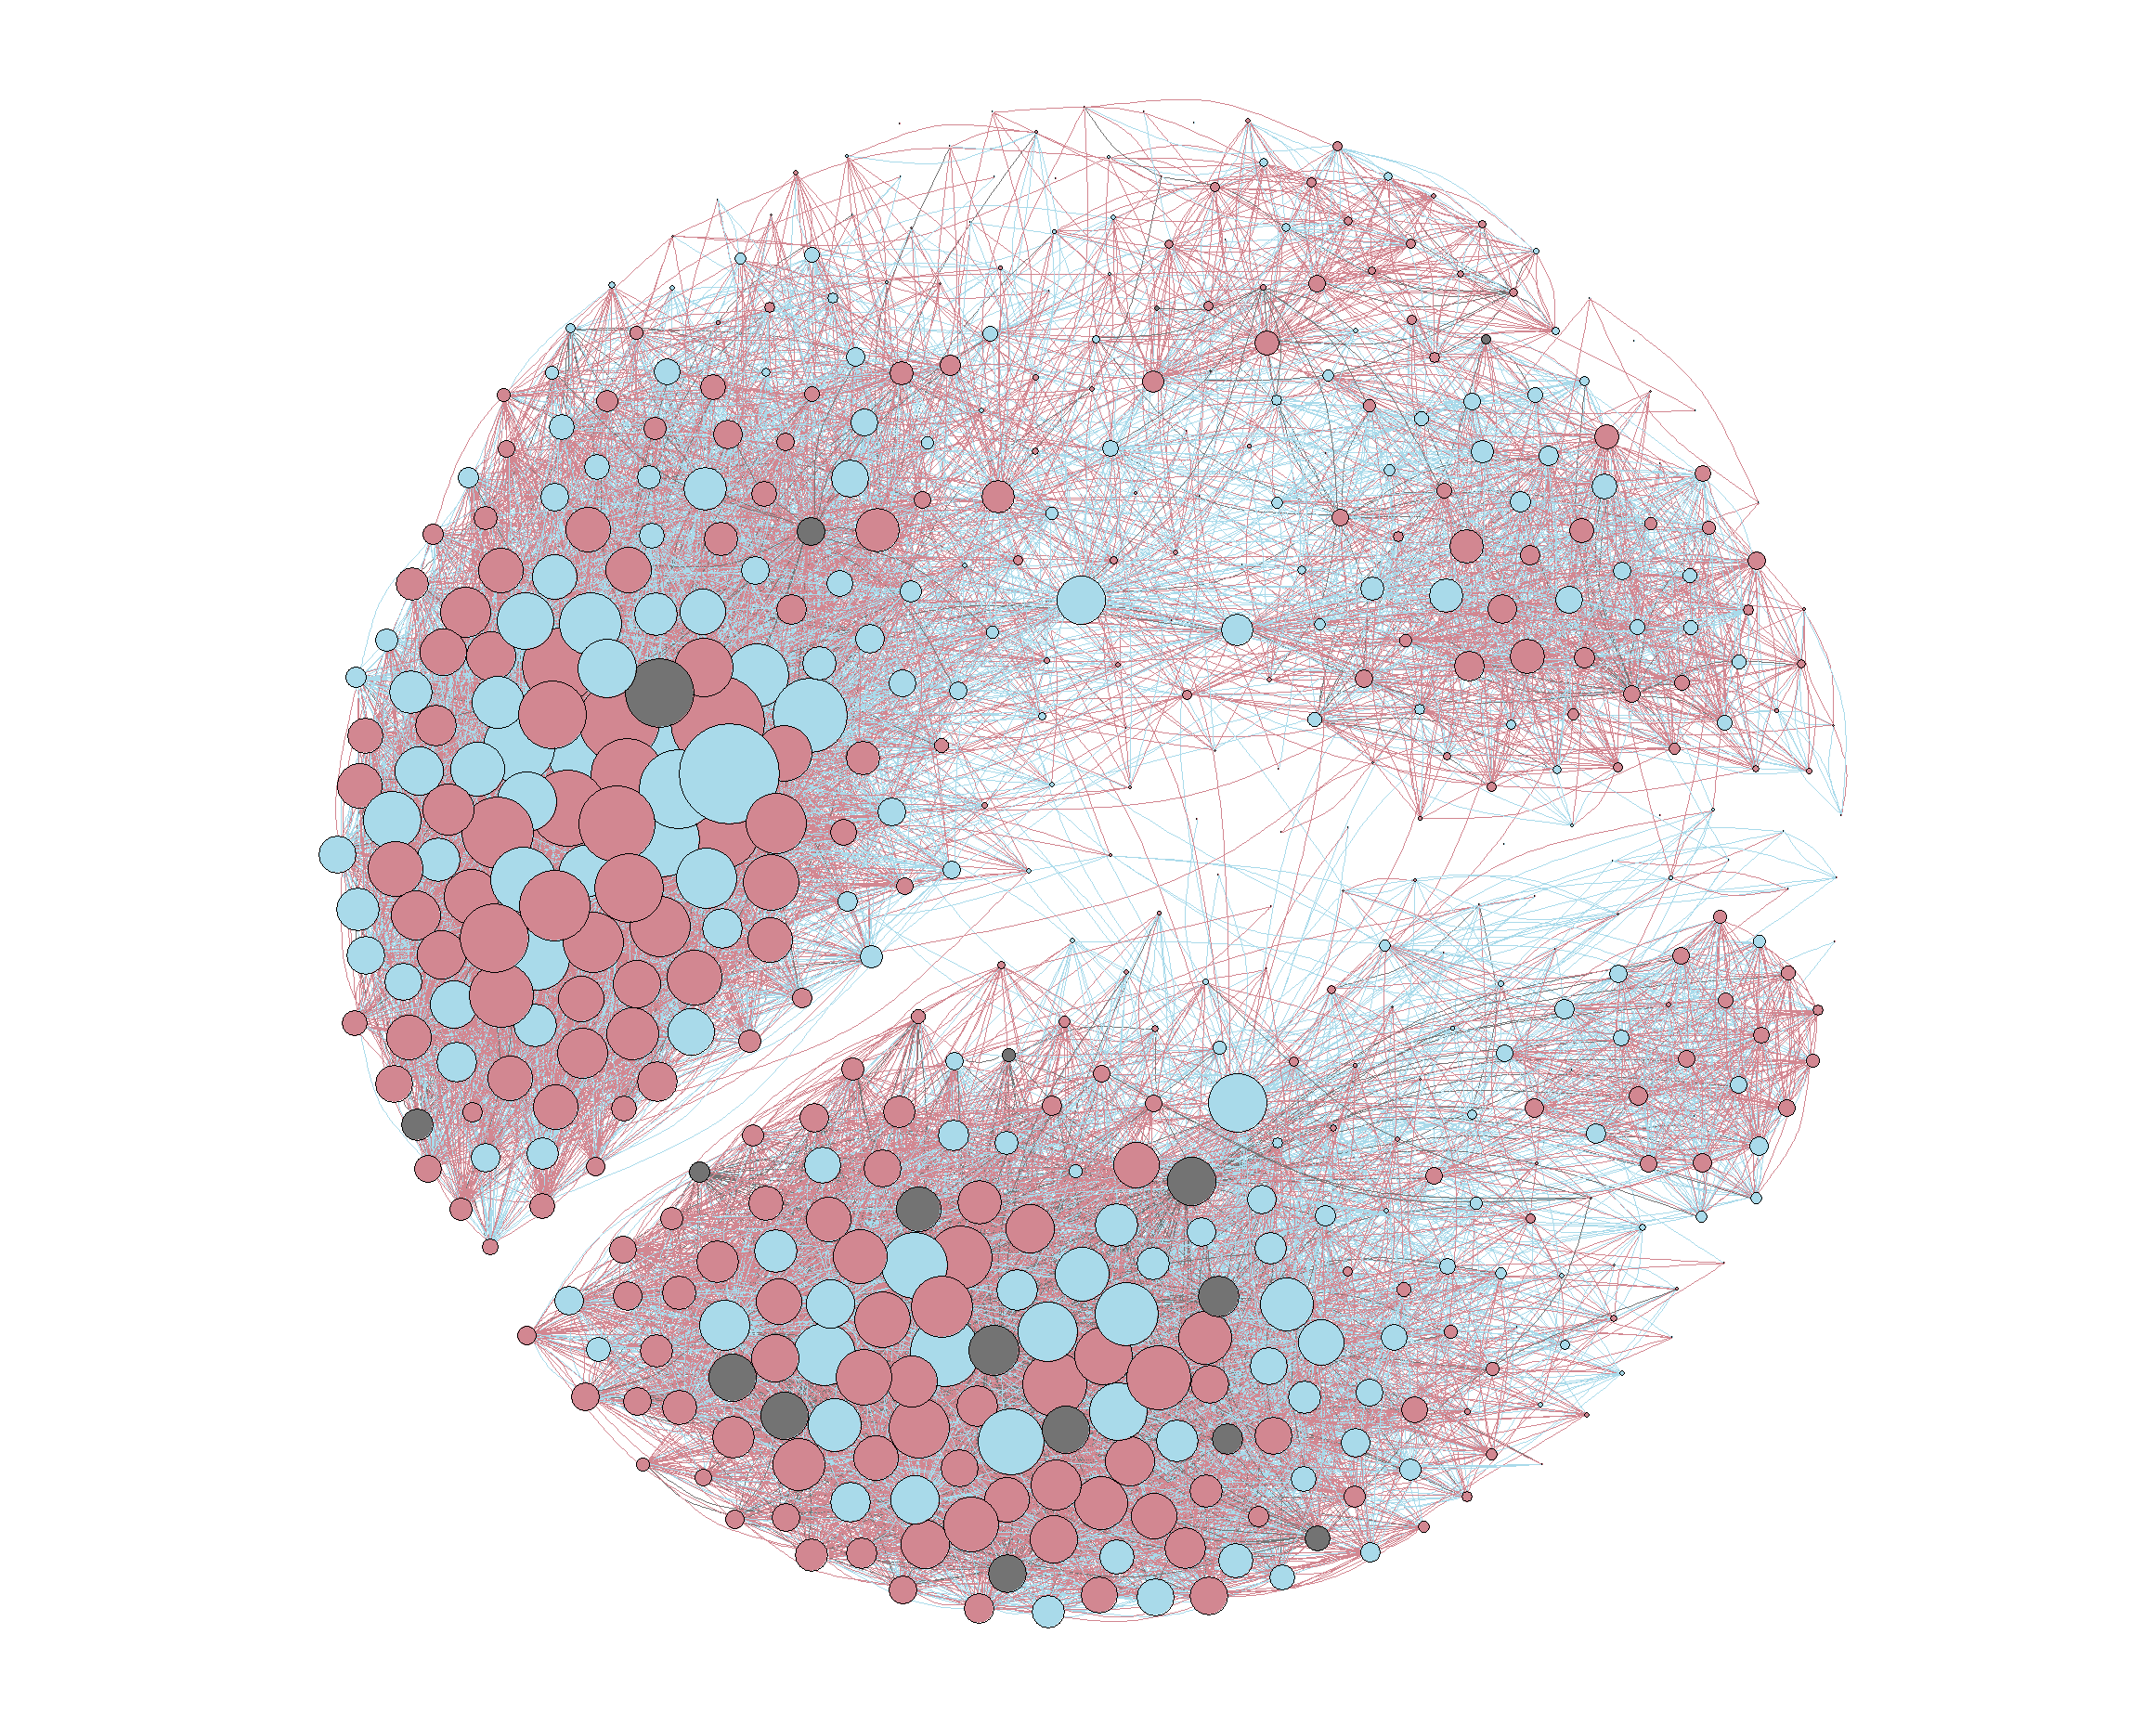
Before doing an igraph visualization with node images, we can plot the graph the old-fashioned way and tweak the layout until it looks right.
require("png")
require("jpeg")
require("igraph")

fb.net <- graph.adjacency(fb.net.mat)

# Add node degree, node colors based on gender, and
# edge colors based on the color of the source node.
my.friends$degree <- degree(fb.net)
my.friends$color <- "gray45"
my.friends$color[my.friends$gender=="female"] <- "lightpink3"
my.friends$color[my.friends$gender=="male"]   <- "lightblue"
fb.net.el$color <- my.friends$color[match(fb.net.el$Source, my.friends$name)]

l <- layout.fruchterman.reingold(fb.net, niter=10000,area=vcount(fb.net)^2.3,
                                  repulserad=vcount(fb.net)^2.2)

png("Facebook-friends-net-IGRAPH.png", width = 2500, height = 2000)
plot(fb.net, vertex.size=my.friends$degree/20, vertex.label=NA,
     vertex.color=my.friends$color, edge.color=fb.net.el$color,
     edge.width=1, edge.arrow.size=0, edge.curved=0.3,  layout=l)
dev.off()
Now on to plotting with images. We’ll apply the layout l created above and plot the graph again, this time with white squares as nodes. Then we’ll use the layout coordinates to overlay the photos on top of those squares. One thing that took a bit to figure out (thanks to a comment by qgraph author Sacha Epskamp) is that the layout needs to be rescaled to [-1, 1] first.
# Rescale the layout so it goes from -1 to 1
l <- layout.norm(l, -1, 1, -1, 1)

png("Facebook-friends-net-IGRAPH.png", width = 2500, height = 2000)
plot(fb.net, vertex.size=4, vertex.label=NA, edge.color=fb.net.el$color,
     vertex.shape="square",vertex.color="white", vertex.frame.color="white",
     edge.width=1, edge.arrow.size=0, edge.curved=0.2,  layout=l)

img.sc <- 0.03 #Image scaling
for (i in 1:dim(l)[1]) {
  img <- my.friends$picture.dld[i]
  img <- if(grepl(".jpg", img)) readJPEG(img) else "gray20"
  rasterImage(img, l[i,1]-img.sc, l[i,2]-img.sc, l[i,1]+img.sc, l[i,2]+img.sc)
}
dev.off()
detach(package:igraph)
And here is what the exported images look like:
Visualizing the network with qgraph
There’s not much to explain here: node images are a built-in option in qgraph. The qgraph function takes a matrix and a vector of image file names (with paths) and produces a graph with node images right away, without further tinkering.
require("png")
require("qgraph")

png("Facebook-friends-net-2014-04-QGRAPH.png", width = 2500, height = 2000)
qgraph(fb.net.mat, images = my.friends$picture.dld, labels = F,
        borders = F, esize=0.1, curve=0.2, curveAll=T, edge.color="gray55")
dev.off()

detach(package:qgraph)